I’ll never forget the first time I had to figure out What Tools Do I Need to Remove a Car Battery—it happened on a chilly morning when my car refused to start, and I was stuck with no help in sight. It felt overwhelming at first, but I quickly realized that anyone can replace a car battery without stress with the right tools and a little patience. Since then, I’ve made it a point to keep simple essentials like a wrench, pliers, and gloves in my trunk—because knowing how to disconnect a car battery safely can save the day. In this guide, I’ll share what worked for me, what mistakes to avoid, and exactly what you need to switch your car battery confidently. Let’s dive in so you’re ready for that unexpected dead battery moment!
 What Tools Do I Need to Remove a Car Battery
If you’ve never swapped out a car battery before, I get it—it can feel like a job for a mechanic. But here’s the truth: you really don’t need a full toolbox or fancy equipment. Just a few basic tools can get the job done safely and smoothly.
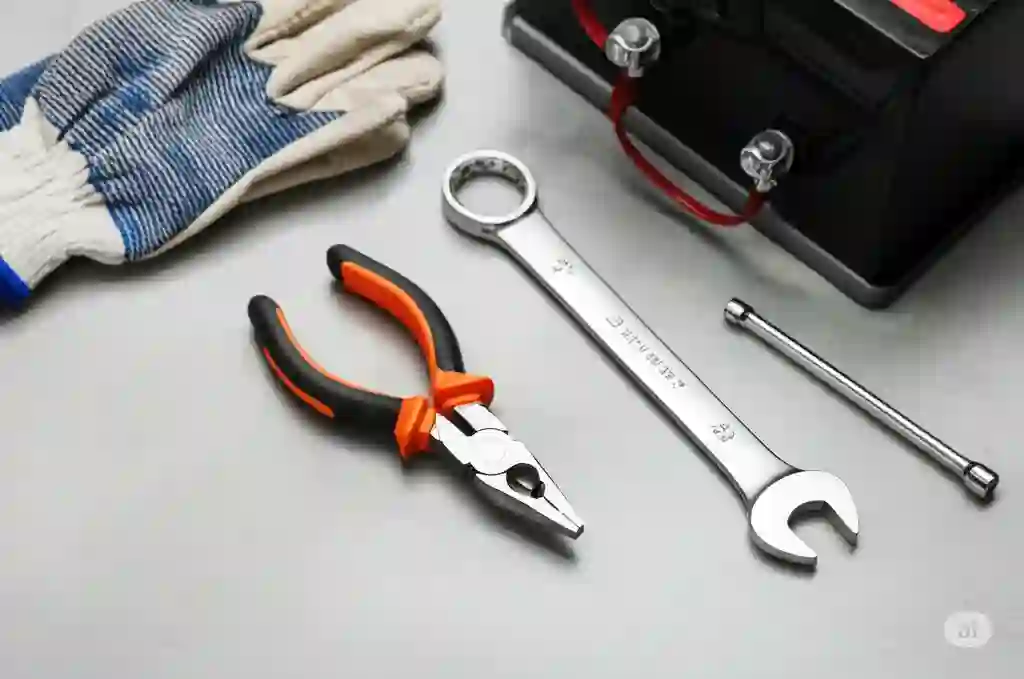
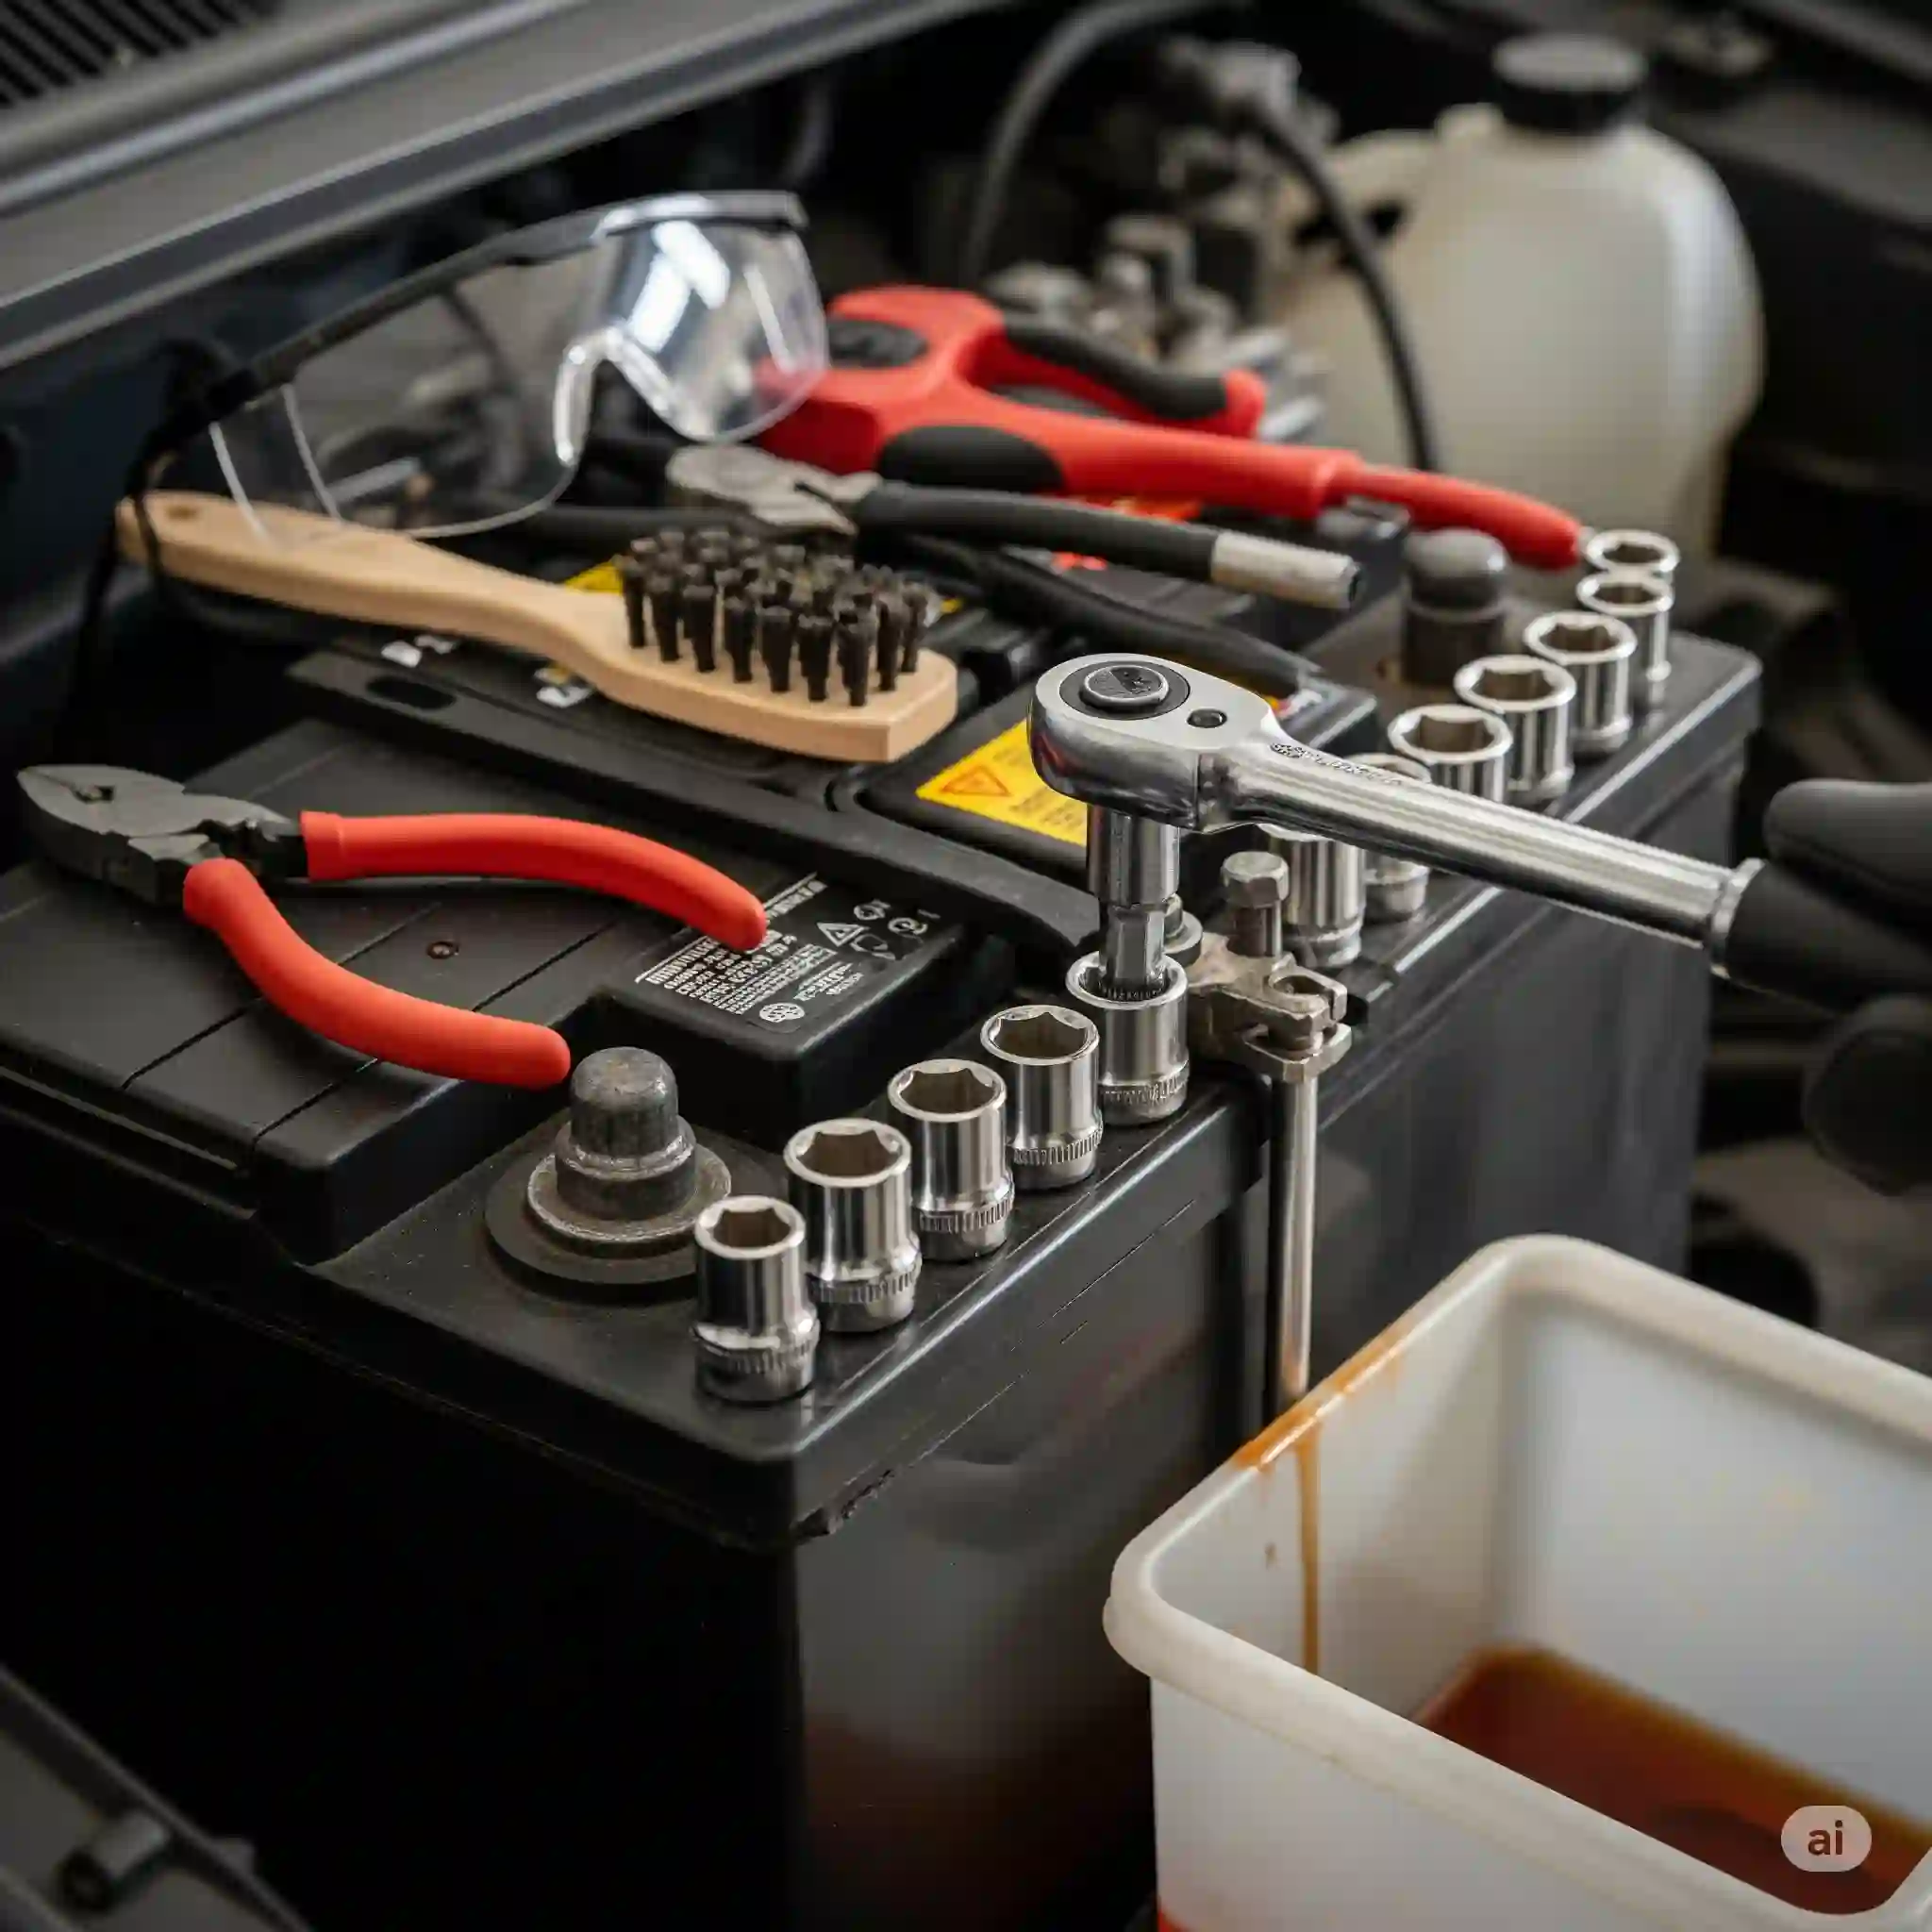
So, what tools do you need to remove a car battery? You’ll need a wrench, some gloves, and a little patience. That’s it to get started.
Let me break it down based on what’s worked for me over the years.
The Complete List of Tools
1. Adjustable Wrench or Socket Wrench (10mm or 12mm)
Most battery terminals are held in place with 10mm bolts. In fact, I’d say 9 out of 10 times, that’s all you need. A small socket wrench with a 10mm head or an adjustable wrench will get those terminals loose.
Quick tip: If you’re not sure which one to grab, go for the socket wrench—it gives better grip in tight spaces.
2. Adjustable Pliers
I’ve had a few older cars where the terminal clamps were stuck—like really stuck. That’s when adjustable pliers saved the day. Just a gentle twist can free them up without damaging the post.
3. Cleaning Cloths or Rags
You’ll want something to wipe down dirt or corrosion. I usually grab an old t-shirt or microfiber cloth.
Short answer: Always clean the area around your battery before you start—it keeps grime out of the terminals and tools.
4. Wire Brush or Terminal Cleaner
Battery terminals get crusty over time. That white or green gunk? It kills your connection. A wire brush helps scrub it clean. You don’t need anything fancy—just something with firm bristles.
I use a little baking soda and water too, just to neutralize any acid around the posts.
5. Gloves
Trust me—you don’t want battery acid on your skin. Even if everything goes smoothly, the batteries are dirty. A simple pair of rubber or work gloves keeps your hands clean and safe.
I learned the hard way—acid stings, and those tiny cuts you forgot about? They’ll remind you quickly.
6. Safety Goggles
I used to skip these Dewalt DPG82 Concealer Anti-Fog Dual Mold Safety Goggle until I didn’t. One splash of corroded battery water made me a believer. Even cheap goggles can protect your eyes while you work over the terminals.
7. Towel or Tray
A towel under the battery helps avoid scratches or stains on your engine bay. If you’re inside the trunk, a plastic tray or old towel catches any dirt or acid drops.
It also keeps your tools from rolling away. You’ll thank yourself.
Optional but Helpful Tools
These aren’t must-haves, but they’ve made my life a lot easier—especially when doing repeat battery changes.
1. Memory Saver Tool
If your car has a fancy stereo or security system, unplugging the battery resets everything. A memory saver tool plugs into the OBD2 port and keeps those settings alive.
It’s not essential, but I use it when working on newer cars—saves me from re-entering radio codes.
2. Corrosion Protection Spray
After cleaning, I like to spray the terminals with a little anti-corrosion spray. It adds a protective layer and keeps that white crust from coming back.
It’s like sunscreen for your battery.
3. Battery Carrier or Strap
Some car batteries are heavy. Some are awkward to lift. A battery strap makes the job way safer and easier—especially if you’re dealing with a deep engine bay.
If you’ve ever tried to lift a slippery 40-pound battery with bare hands, you know what I mean.
In short:
To remove a car battery, you only need a few tools—mostly a 10mm wrench, gloves, and a rag. But having extras like pliers or a memory saver can make things smoother, especially if you’re doing this for the first time.
The goal isn’t to impress anyone—it’s just to get the job done safely, without scratching your car or hurting yourself.
Now that you’ve got your tools ready, let’s walk through how to actually remove that battery step by step.
How to Remove a Car Battery: Step-by-Step Guide
So you’ve got your tools ready—awesome. Now let’s actually remove that battery. Don’t worry, it’s easier than it sounds, and once you’ve done it once, you’ll wonder why it ever felt intimidating.
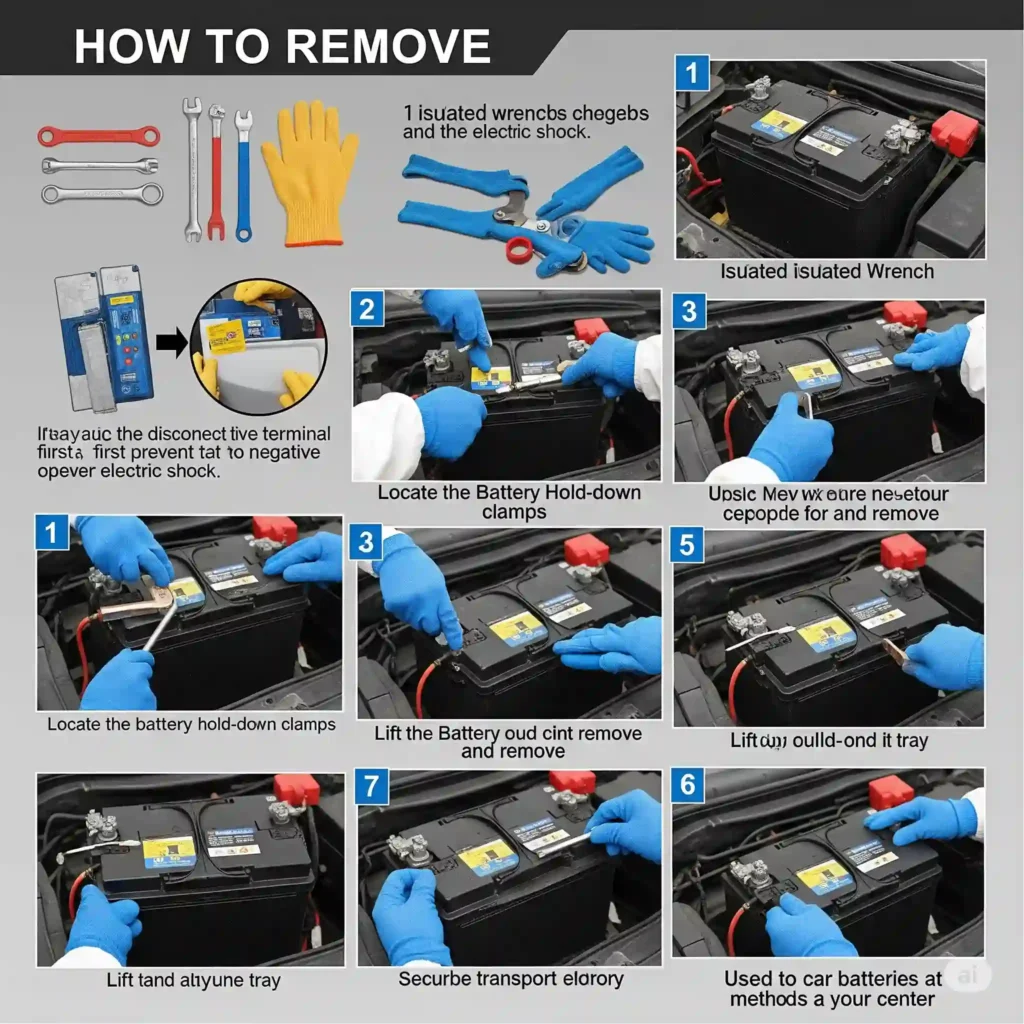
Short answer: To remove a car battery safely, make sure your car is off, disconnect the negative terminal first, then the positive, remove the hold-down bracket, and lift the battery out with care.
Let me walk you through it step by step.
Preparation: Stay Safe and Ready
Before you touch anything, take a deep breath and set up your space.
Park on level ground and make sure the engine is off. I always pull the handbrake just to be extra safe. If you’re working at night or in a garage, use a good light source—you don’t want to fumble in the dark.
Locate your battery—it’s usually under the hood, but some cars hide it in the trunk or under a plastic cover. Pop the hood and look for two thick cables attached to a rectangular box with metal terminals.
Tip: If you’re not sure which is which, the negative terminal is usually marked with a minus (-) sign or has a black cable. The positive has a plus (+) or red cable.
Then: Disconnecting the Battery
This part is crucial—and it’s where many first-timers get nervous. But trust me, if you follow the order, you’re good.
Always disconnect the negative terminal first. Why? Because it’s your ground connection. If your wrench accidentally touches metal while the positive terminal is still connected, you could cause a short.
Loosen the 10mm nut on the negative terminal, wiggle the clamp, and pull it off. You might need pliers if it’s stuck, but be gentle.
Once the negative is off, repeat the process for the positive terminal. Again—loosen, wiggle, and remove. Set both cables to the side so they don’t accidentally fall back onto the posts.
Short answer: Disconnect the battery by removing the negative terminal first, then the positive, to avoid electrical sparks or shorts.
Now look for the hold-down bracket or clamp. This usually secures the battery at the base or across the top. Use your wrench or ratchet to remove it.
Finally: Lifting Out the Battery
Now for the heavy lifting—literally.
Grab the battery with both hands (or a carrier strap if you have one), and lift it straight up. Be careful not to tilt it—car batteries are heavy and can leak acid if dropped or handled roughly.
If there’s corrosion around the base or it feels stuck, give it a little nudge side to side. Sometimes a gentle rock is all it needs.
Short answer: Use both hands to lift the battery straight up. Don’t tilt it or let it bang into anything metal.
Once it’s out, set it on a flat, safe surface. I usually place it on a towel in the garage until I can take it to a recycling center.
In summary:
Removing a car battery is a simple, step-by-step process. Start by parking safely, then disconnect the negative terminal, followed by the positive. Remove the hold-down, lift the battery out carefully, and you’re done.
If you’re like me, once you’ve done it once, it’ll feel like second nature the next time.
Ready for the next step? Let’s walk through what to do if the battery is stuck or won’t budge.
What Tools Do I Need to Remove a Car Battery If It’s Stuck?
Sometimes, no matter how ready you are, the battery just won’t budge. Maybe it’s been in there for years, or there’s corrosion locking it in place. Either way, I’ve been there—and trust me, you don’t need to panic or force it out.
Short answer: If your battery is stuck, try a light tap with a rubber hammer, use penetrating oil for rusted bolts, and know when it’s time to call a mechanic.
Let’s break down what works and what to avoid.
Step 1: Using a Hammer (Gently Does It)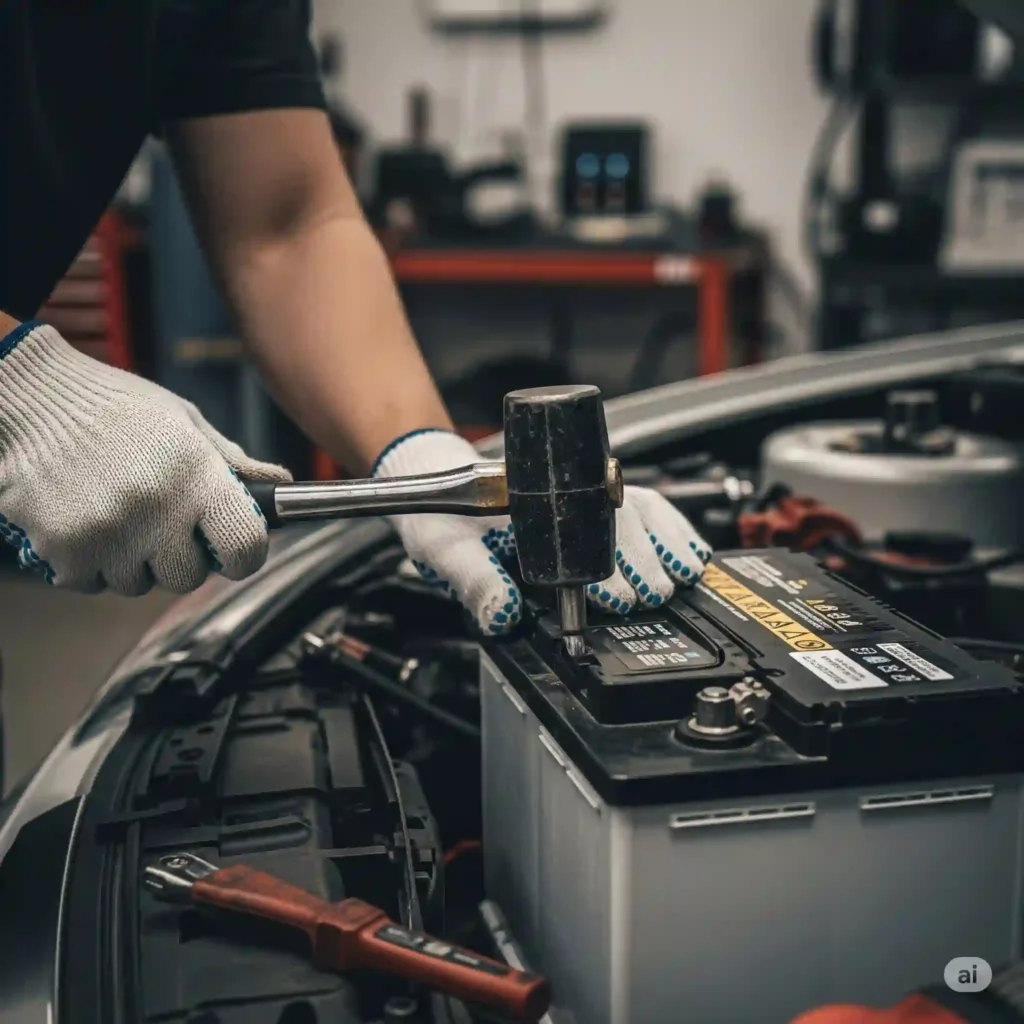
You don’t need to go full Hulk here. A rubber mallet or small hammer can help loosen a terminal clamp that’s stuck. Just give it a light tap on the side of the terminal—not on the post itself. The idea is to break the grip of corrosion or buildup, not damage anything.
If you don’t have a rubber mallet, wrap a regular hammer in a cloth. That’ll soften the blow and protect your battery components.
Light tapping on a stuck battery terminal can help break up corrosion without damaging the post or cables.
Important: Never hit the top of the battery. It can crack or leak, and that’s a mess no one wants to clean up.
Step 2: Using Penetrating Oil for Rusted Bolts
If your hold-down bolt or bracket feels like it’s fused in place, a few drops of penetrating oil (like WD-40 or PB Blaster) can make a big difference. Just spray it where the threads meet the nut and give it a few minutes to work in.
Be careful not to get oil near the battery terminals—it can interfere with the electrical connection later.
A bit of penetrating oil can loosen rusted battery bolts, but avoid spraying near the terminals or inside the battery tray.
After spraying, try the bolt again with your wrench. If it still won’t move, alternate between tightening and loosening—it often breaks the grip.
Step 3: When It’s Safer to Call a Mechanic
If you’ve tried tapping, wiggling, and oiling—and the battery still won’t budge—it might be time to let a professional step in. Especially if:
- The battery tray is rusted or cracked
- The posts are fused to the cables
- You’re worried about damaging something expensive nearby (like sensors or ECUs)
If a car battery feels welded in or you’re not sure what’s safe to pull, it’s smarter (and safer) to call a mechanic.
I once had a battery so corroded it had swollen and expanded slightly in the tray. No amount of pulling would’ve helped—and forcing it could’ve done real damage. Getting a tech involved saved me time and my fuse box.
In summary:
If your battery is stuck, don’t force it. Use a rubber mallet to tap stuck terminals, apply penetrating oil to any frozen bolts, and if it still won’t move, call for help. Your safety—and your car’s electronics—are worth protecting.
Now that you’ve handled the tricky part, let’s talk about installing the new battery the right way. Ready?
How to Install or Replace Your Car Battery
Once your old battery is out, it’s time to drop in the new one. Don’t stress—installing a car battery is honestly the easiest part of the whole process. It just takes a few careful steps, and you’ll be back on the road in no time.
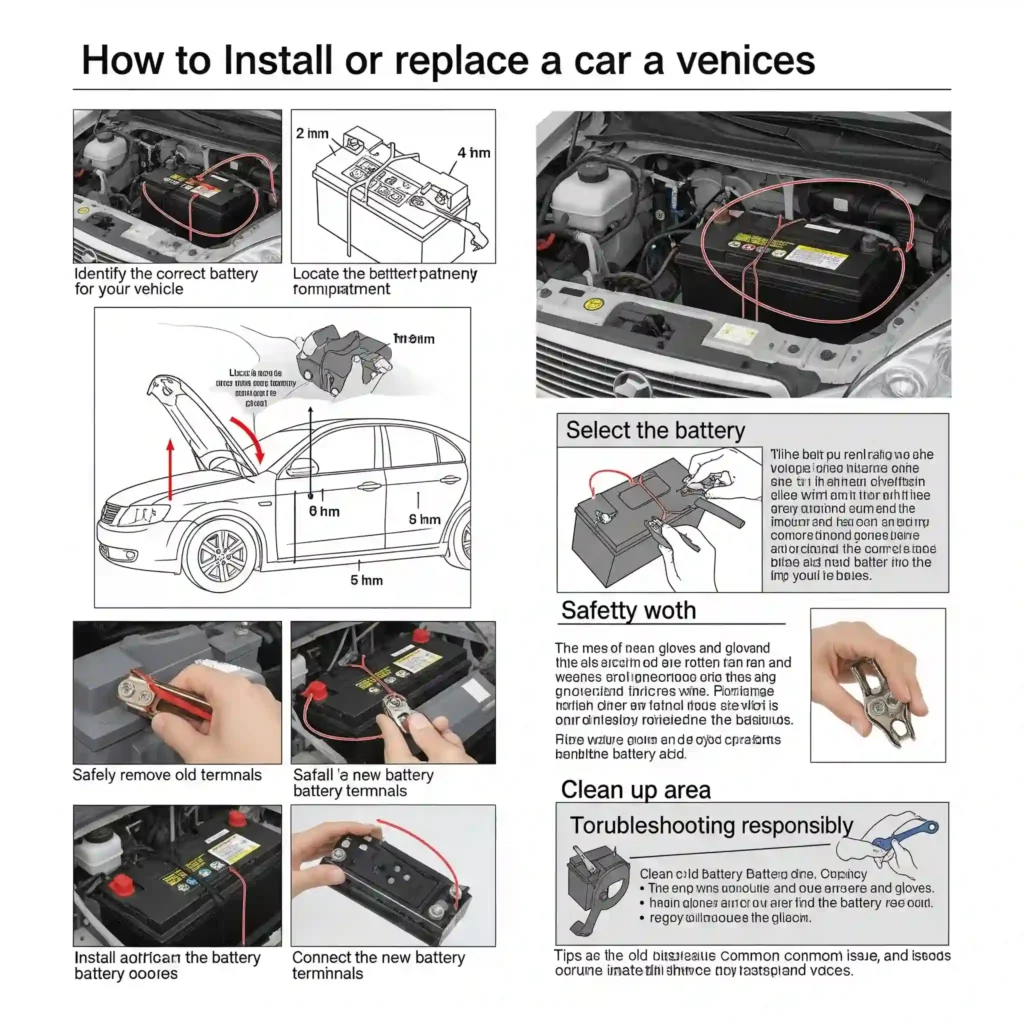
Short answer: To install a car battery, place it securely in the tray, match the terminal orientation, tighten the bracket, and connect the positive cable first, then the negative.
Let me walk you through it.
Step 1: Place the New Battery — Match the Terminal Orientation
Before you set it down, double-check that your new battery matches the old one in size, type, and terminal placement. You don’t want the positive and negative posts to end up flipped—that’s a frustrating mistake I’ve made once (and only once).
Carefully lower the battery straight into the tray. If you’re working in a tight space, this is where a battery strap or an extra set of hands helps.
Make sure the positive (+) terminal is on the same side as your old battery so your cables reach properly.
Step 2: Secure the Bracket
Now that your battery’s in place, it’s time to bolt it down.
Use the same hold-down bracket or clamp you removed earlier. Tighten it just enough to keep the battery snug—don’t overdo it. You want the battery to stay put when the car hits bumps, but not crack from pressure.
Always secure the battery firmly before reconnecting the terminals. A loose battery can move and cause serious damage under the hood.
Step 3: Connect Positive First, Then Negative
This part’s important. Always connect the positive cable first. Slide it over the terminal and tighten the clamp with your wrench.
Then connect the negative cable to the negative terminal.
The correct order is positive first, negative second—this helps prevent short circuits while you’re working.
If the clamps feel loose after tightening, double-check for dirt or corrosion. A snug, clean connection gives your car the best start.
Step 4: Check That All Connections Are Tight
Before you close the hood and start the engine, give both cables a gentle wiggle. If anything moves, tighten it a bit more.
Some folks like to coat the terminals with a bit of corrosion protection spray after everything’s secure—it helps keep buildup away, especially in humid or coastal areas.
A quick check now can save you from a no-start situation later.
Once everything feels solid, go ahead and start your car. If it fires right up—congrats! You just replaced your battery like a pro.
In summary:
To install a new car battery, place it in the tray with the terminals in the correct position, secure it with the bracket, connect the positive terminal first, then the negative, and check that everything is tight. That’s it—no need to overcomplicate it.
Ready to hear the lessons I learned from doing this the hard way a few times? Let’s jump into the personal tips next.
Personal Tips for First-Time Battery Replacement
I still remember the first time I replaced my car battery. I was proud… but also nervous. I’d watched a few YouTube videos, read a quick guide, and figured, “How hard could it be?” Spoiler alert: it’s not that hard, but there are a few things I wish I’d known earlier.
Short answer: Replacing your car battery is easy, but there are a few simple mistakes that can trip you up—here’s how to avoid them.
Mistakes I Made and How You Can Avoid Them
The first time I did it, I connected the negative cable first. Not a huge disaster, but it’s the kind of move that can cause a spark—or worse, a short. Always connect positive first, negative last when installing.
I also once forgot to tighten the terminal clamps properly. Everything looked fine… until my car wouldn’t start the next morning. Now, I give each terminal a little wiggle test before closing the hood. If it moves, I tighten it again.
Tip: Loose terminal connections can lead to starting issues, even with a brand-new battery. Always double-check for a firm fit.
Why I Always Double-Check Terminal Tightness
It sounds small, but this step matters. A slightly loose clamp might still start your car today—but vibration from driving can loosen it more over time. Then one day, you go to start the car, and it’s completely dead again.
Now, I treat battery installation like I would lug nuts after a tire change—tighten them securely, then check again after a few miles of driving.
Quick answer: After replacing a battery, always make sure both clamps are tight. A loose one can leave you stranded—even with a new battery.
The Importance of Recycling Your Old Battery Responsibly
When I changed my first battery, I honestly didn’t know what to do with the old one. I thought about tossing it in the trash—until I found out that’s illegal and harmful to the environment.
Most auto parts stores will take it back for free, and some even give you a refund or store credit. Batteries are full of lead and acid—they’re not just trash. They’re recyclable and valuable when returned properly.
Helpful tip: Bring your old battery with you when buying a new one. Many shops offer a “core charge” refund—plus, it’s the right thing to do.
In Short…
Swapping a battery is one of the best first DIY jobs you can do. It builds confidence, saves money, and teaches you how your car works.
But like anything else, the small details matter—from which cable to connect first to making sure your old battery gets recycled. Take your time, stay safe, and don’t be afraid to learn as you go.
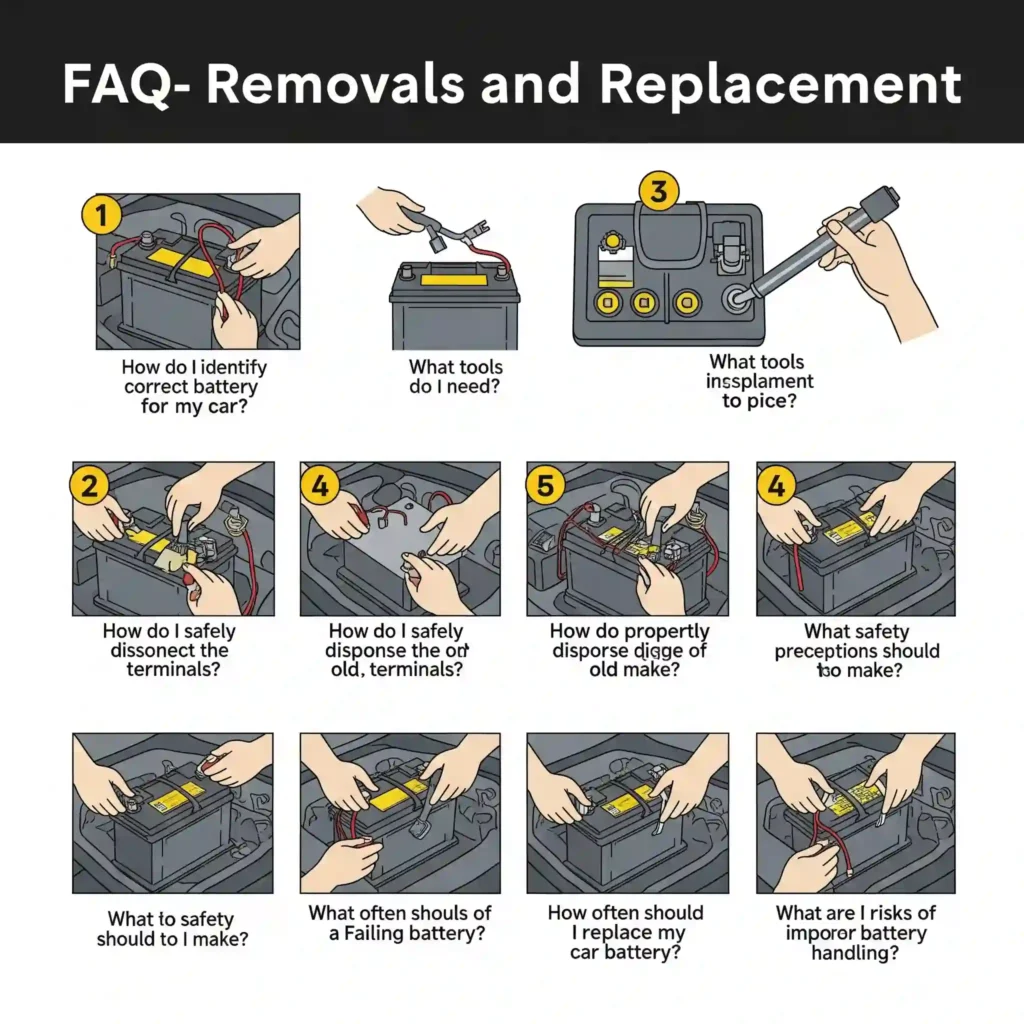 FAQs — Quick Answers for Common Battery Removal Questions
What size wrench do I need to remove a car battery?
Most car batteries use 10mm or 12mm nuts on the terminal clamps. A small socket wrench or adjustable wrench will work in most cases.
Can I remove a car battery without tools?
No, you need at least a wrench or pliers to loosen the battery terminals. Trying without tools can damage parts or cause injury.
Which terminal do I disconnect first?
Always disconnect the negative (-) terminal first. This prevents accidental sparks or short circuits while you’re working on the battery.
How long does it take to remove and replace a car battery?
It usually takes about 30 to 60 minutes to remove and install a car battery, depending on your experience and how easy it is to access.
Do I need a memory saver tool when changing a battery?
It’s optional but helpful. A memory saver tool keeps radio codes and clock settings when the battery is unplugged.
What if my battery terminals are stuck?
If your battery terminals are stuck, use pliers or a gentle tap with a rubber mallet. Penetrating oil can also help loosen corroded bolts.
Is it safe to change my car battery at home?
Yes, it’s safe if you follow basic steps: wear gloves, work on a flat surface, disconnect negative first, and avoid touching both terminals at once.
Where is my car battery located?
Most car batteries are in the engine bay, but some are in the trunk or under the rear seat. Check your owner’s manual if you’re unsure.
Can I damage my car by removing the battery incorrectly?
Yes, disconnecting the positive terminal first can cause sparks. Always remove the negative first and reconnect it last to stay safe.
What should I do with my old car battery?
Don’t throw it away. Return it to an auto parts store or battery shop for safe recycling. Some stores even offer money back for old batteries.
Final Thoughts — The Confidence to Handle Your Own Battery Replacement
If you’ve made it this far, you’re already ahead of the game. Replacing a car battery might seem intimidating the first time, but once you’ve done it, the fear fades fast. The first time I did it, I remember double-checking every step—gloves on, tools ready, heart racing like I was defusing a bomb. But guess what? It worked. And that feeling of doing it myself was better than any YouTube tutorial.
Removing and replacing a battery saves you time and money. But more than that, it gives you a skill you’ll actually use again. And every time your car starts up strong afterward, there’s this quiet pride that says, I did that. You don’t need to be a mechanic. You just need the right tools, a little guidance, and the confidence to try.
Just don’t forget to recycle your old battery. Most auto parts stores will take it off your hands, and some even give you a small refund. It keeps toxic chemicals out of landfills and helps someone else get a refurbished battery down the road.
So next time your car won’t start and it turns out to be the battery—don’t panic. You’ve got this. It’s not just a fix. It’s a win.

1 thought on “What Tools Do I Need to Remove a Car Battery?”